Bras have been on my to-make wish list since I figured out that I could really make anything (around the middle of last year). I put them on my 2019 Make Nine list because I really wanted to give them the time and patience that they needed.
I started back in March with a test of the free Barrett Bralette pattern from Madalynne Intimates and the Jordy Bralette from Emerald Erin. I liked the fit of the Barrett but wanted to add foam, a deeper V in the front, and a back closure. The Jordy was not for me – the elastic-only band was not comfortable (and didn’t do good things for my lats either). I took a while sourcing proper findings for more bras and considering my options.
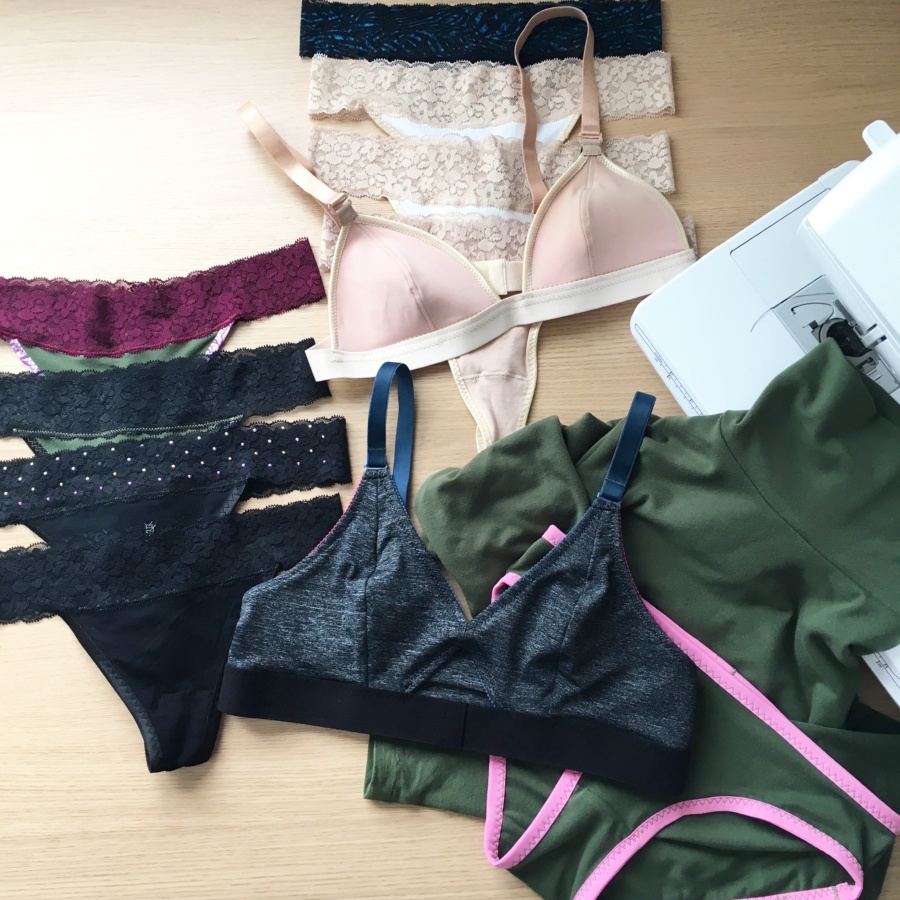
My plan was to continue with the Barrett and make some mods, and then I found the Watson Bra by Cloth Habit and decided to give it a try. Oh my – I love this pattern! It has everything I was looking for: deep-v, proper back closure, no underwire and good strap setting (they don’t fall off, a common problem for me).
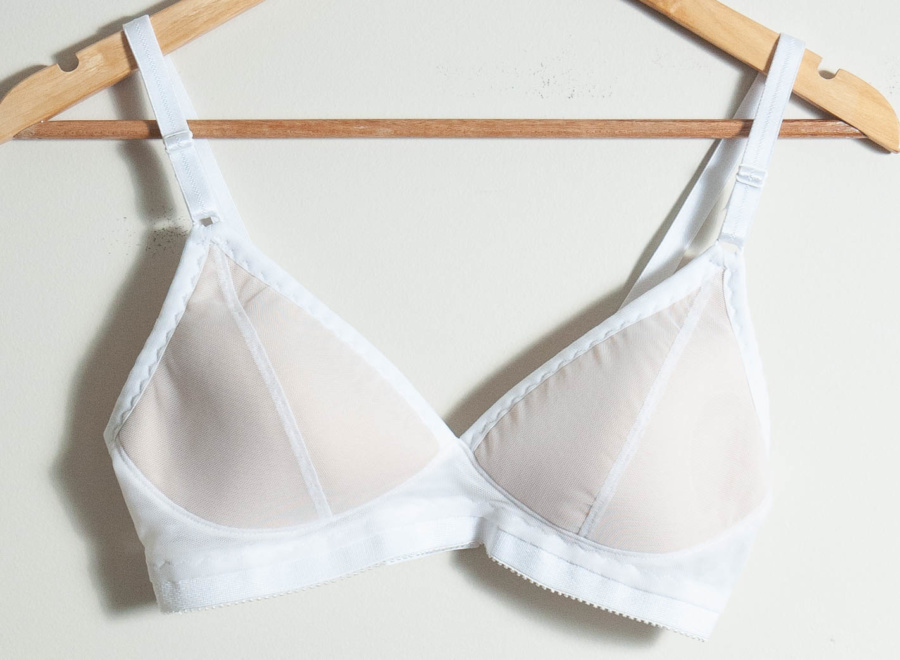
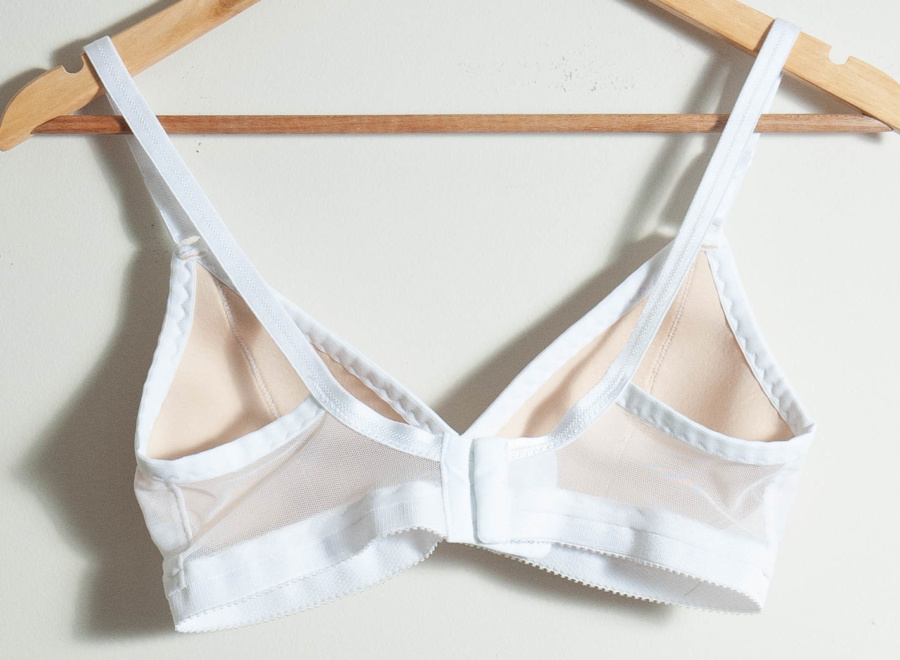
I followed the fit instructions and measurements (and giggled that it put this B-cup lady in the D-cup category) and started with a test version. I knew I wanted to add foam so I tried my first version with it so I would know what mods to make… and it was perfect. I wore it every day from that point forward and immediately grabbed all the supplies to try five more.
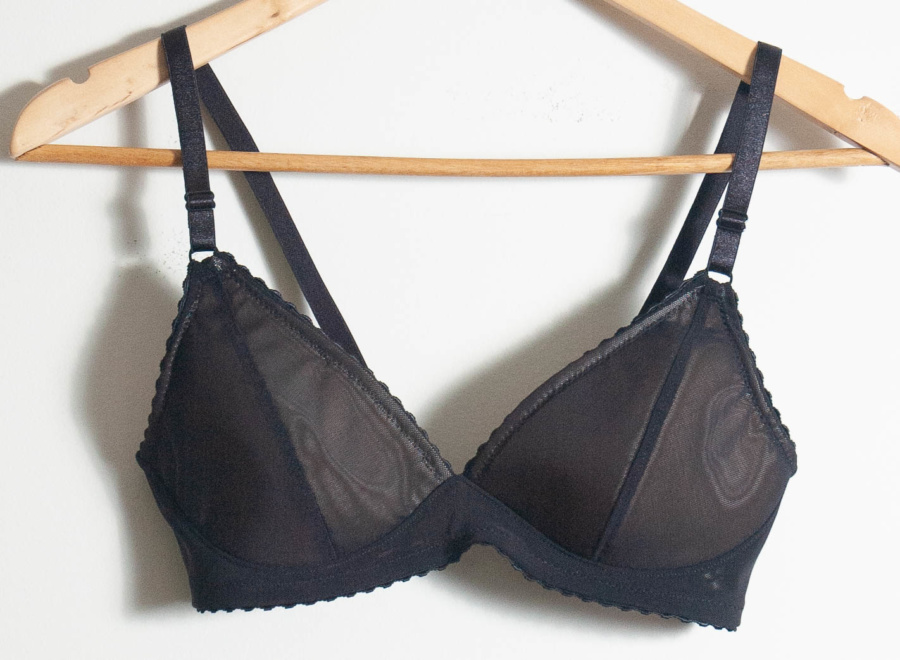
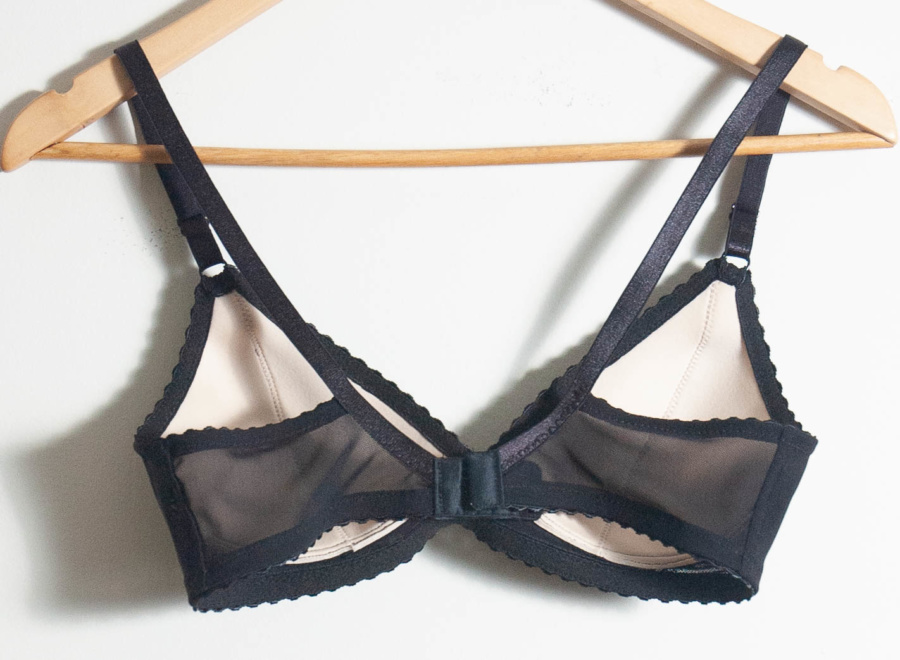
I cut the 32D size in both the long line and regular versions. For two of the regular versions I used a wide bottom elastic and a 3-hook closure. For the other two I used the recommended elastic and a 2-hook closure. I put foam in all four of my regular versions, two with fold-over elastic and two with the recommended elastic.
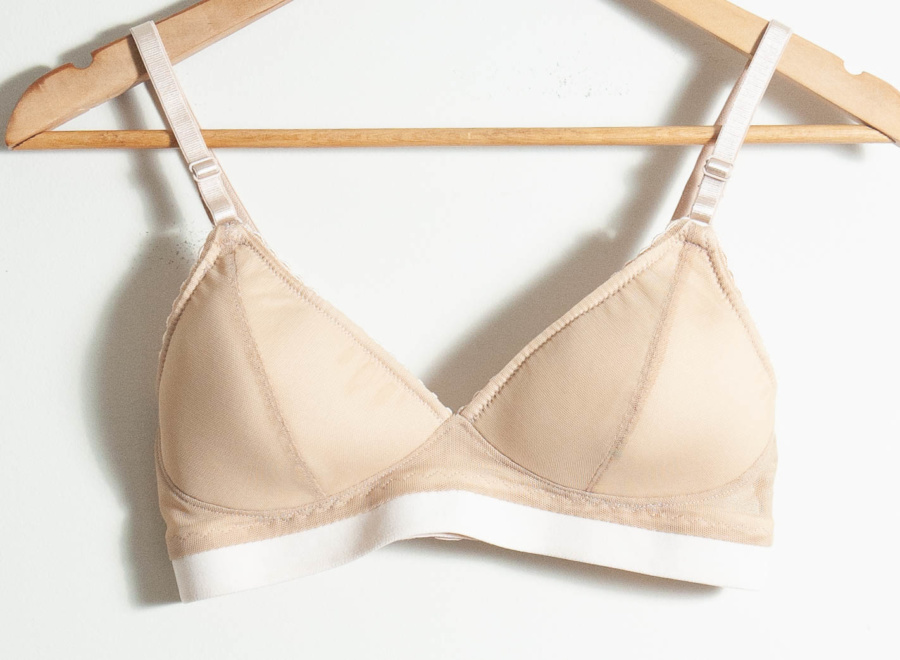
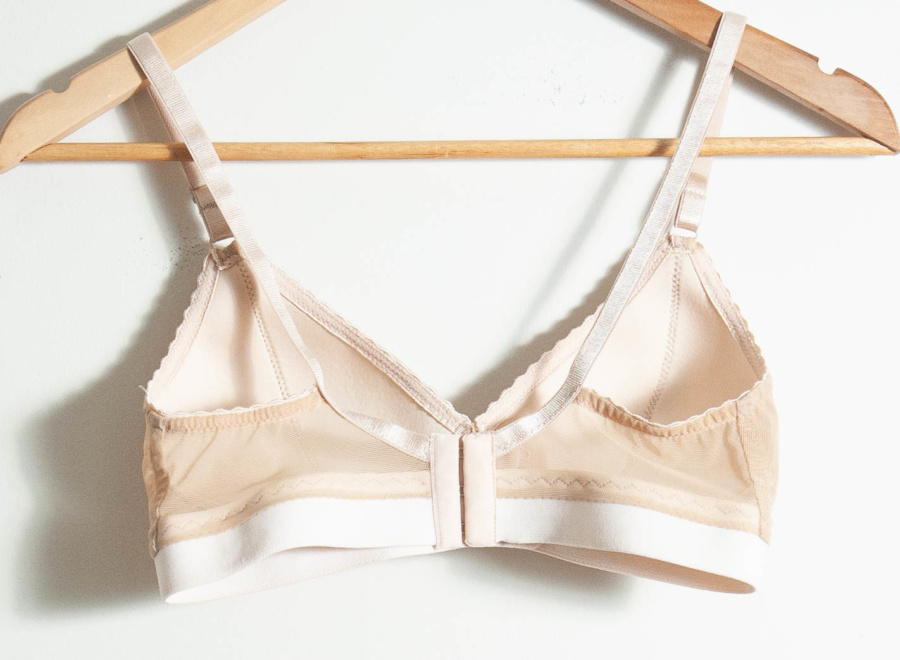
I like both versions a lot but I think the fold over elastic works better with the foam and pairs better with the wide bottom elastic (like the white one – my first version). The recommended elastic looks great but works better without foam (I tried it this way for the long lined versions). I like the width of the 3-hook band at the back, but the 2-hook closure is comfortable and wears just as well.
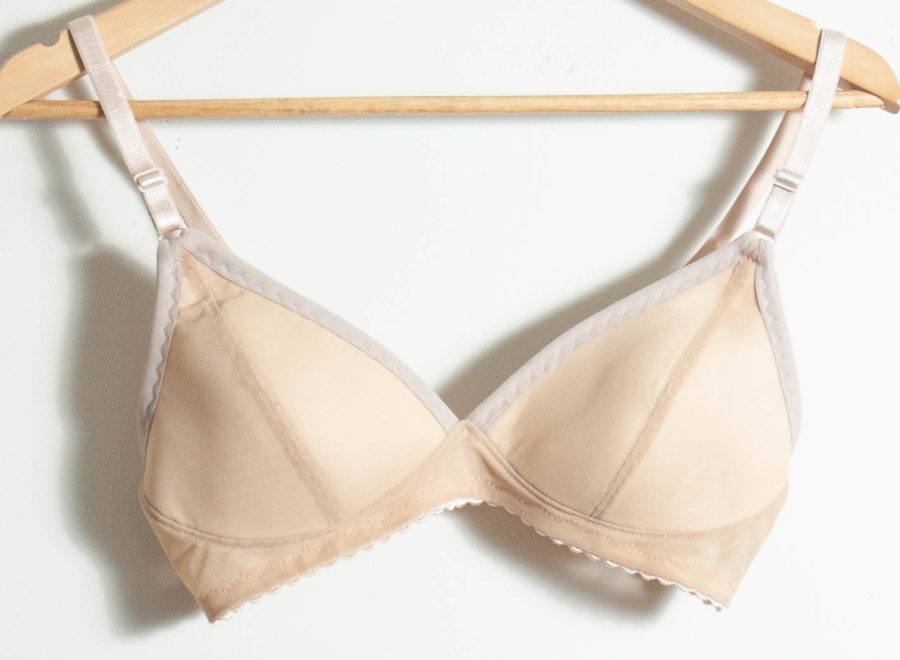
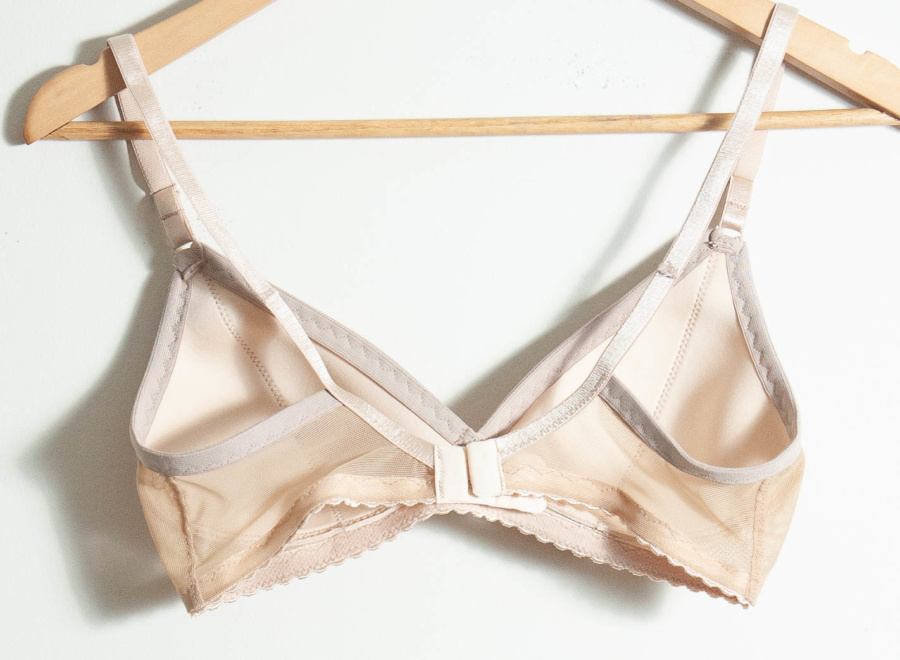
For the long line versions, I went with lace, lining and no foam. I tried the recommended bottom elastic placement for the first one but found that it didn’t hold the bra in place under my bust. I removed the elastic and tried clear elastic under the bust (total fail) before ending up adding the recommended elastic directly under the bust. I used a neutral elastic so it can only just be seen under the lace.
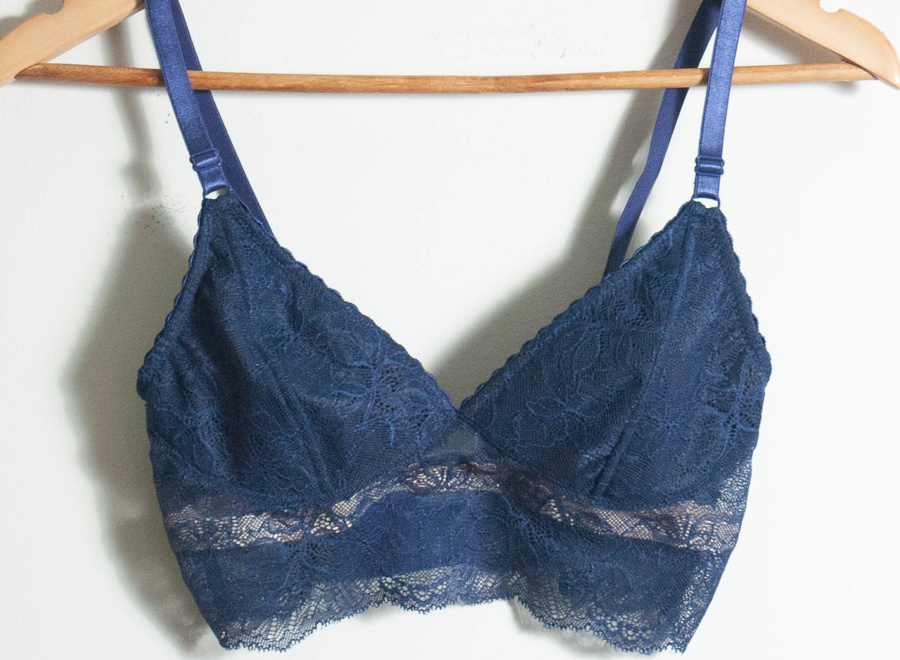
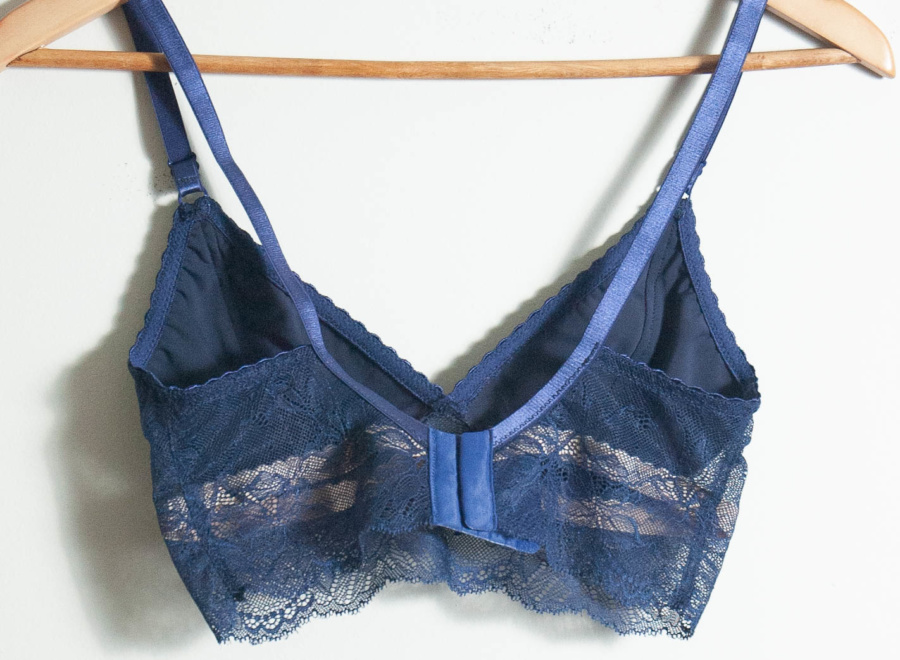
On the other long line bra, I tried a thick elastic so it would come up just under the bust. It works pretty well, though ended up about a cm too low. Unfortunately I made the elastic a bit too tight so it’s only going to be a special occasion bra and I’m hoping it will stretch out a bit.
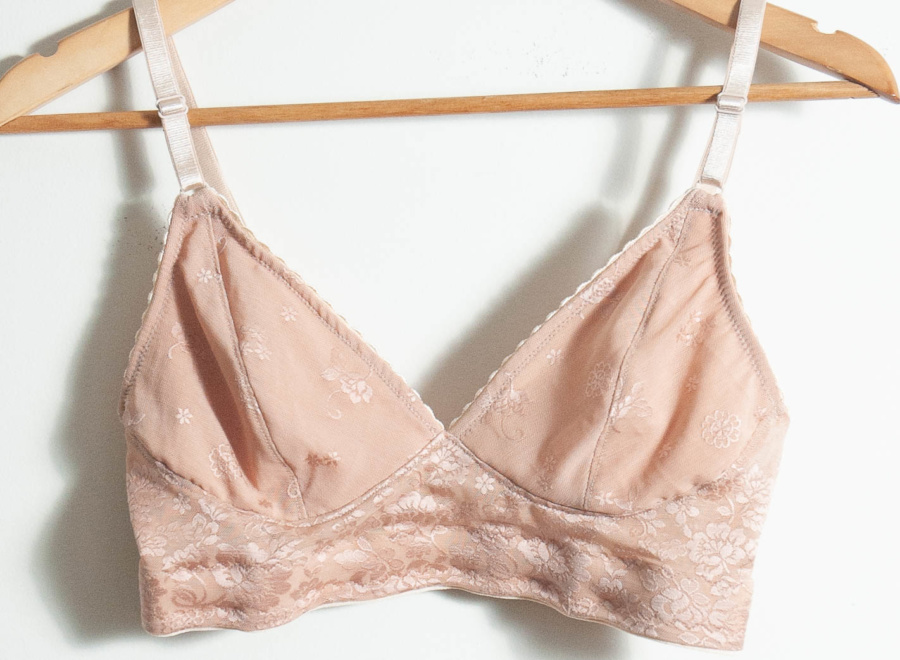
Of the two styles, I prefer the regular length version. It is the most comfortable and fits my short-waited self the best. The long line ones will get worn though. The blue long line will be a special bra to wear under an open-back dress I’m planning to copy from an old RTW dress I’ve torn apart (stay-tuned).
Fabric and Supplies: I used stretch power mesh over cut-and-sew foam for the four regular bras and stretch lace over matching left-over swim fabric for the long line versions. Elastics, closures, rings and sliders were from Bra-Makers Supply, Dressew Supply and Emerald Erin at various times. I love how little fabric bras take (hello scraps) but the proper hardware and elastic makes a big difference so I highly recommend investing appropriately in those.
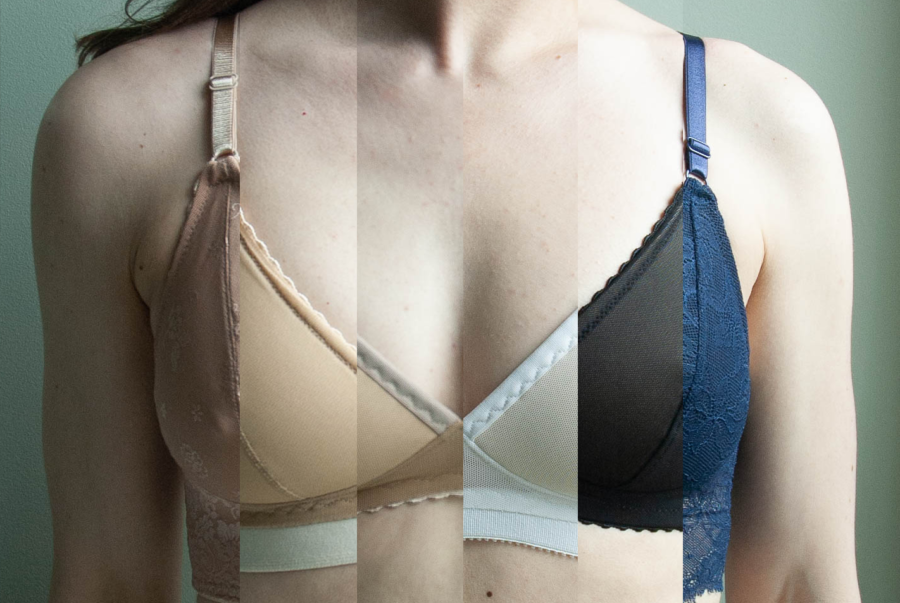
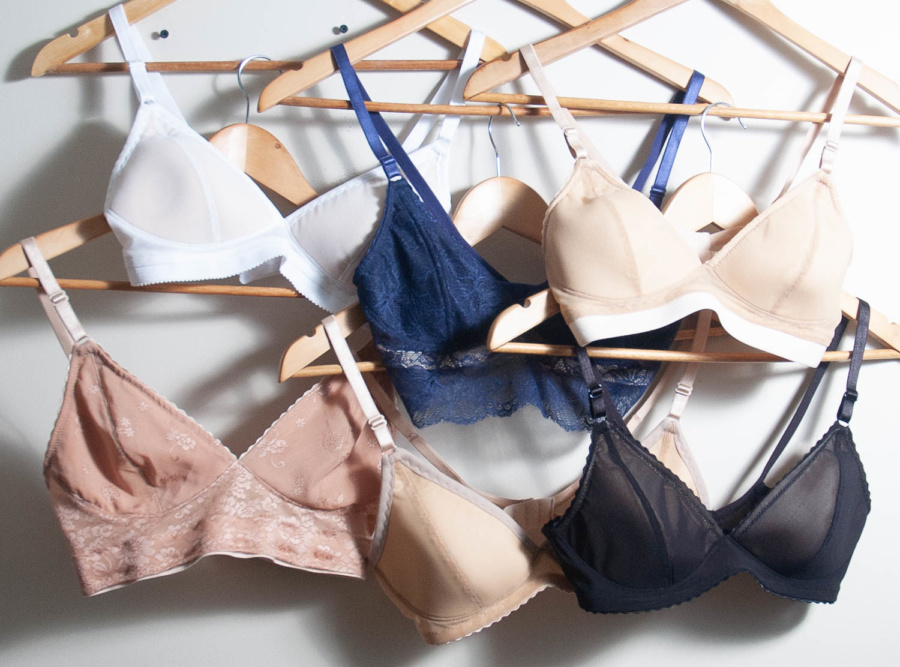
These six bras will hopefully last me for a long time. I’m so glad I tackled them this year and, now that I have a perfect-for-me pattern, I’ll never have to struggle with bra purchase again! I plan to keep using the Barrett Bralette pattern as well for some swim makes this year and I wear the one I’ve already made as a sports bra.
Thanks for stopping by.
~ Lindsay
